
How to Make a Mario Kart Rainbow Road Valentine's Day Box
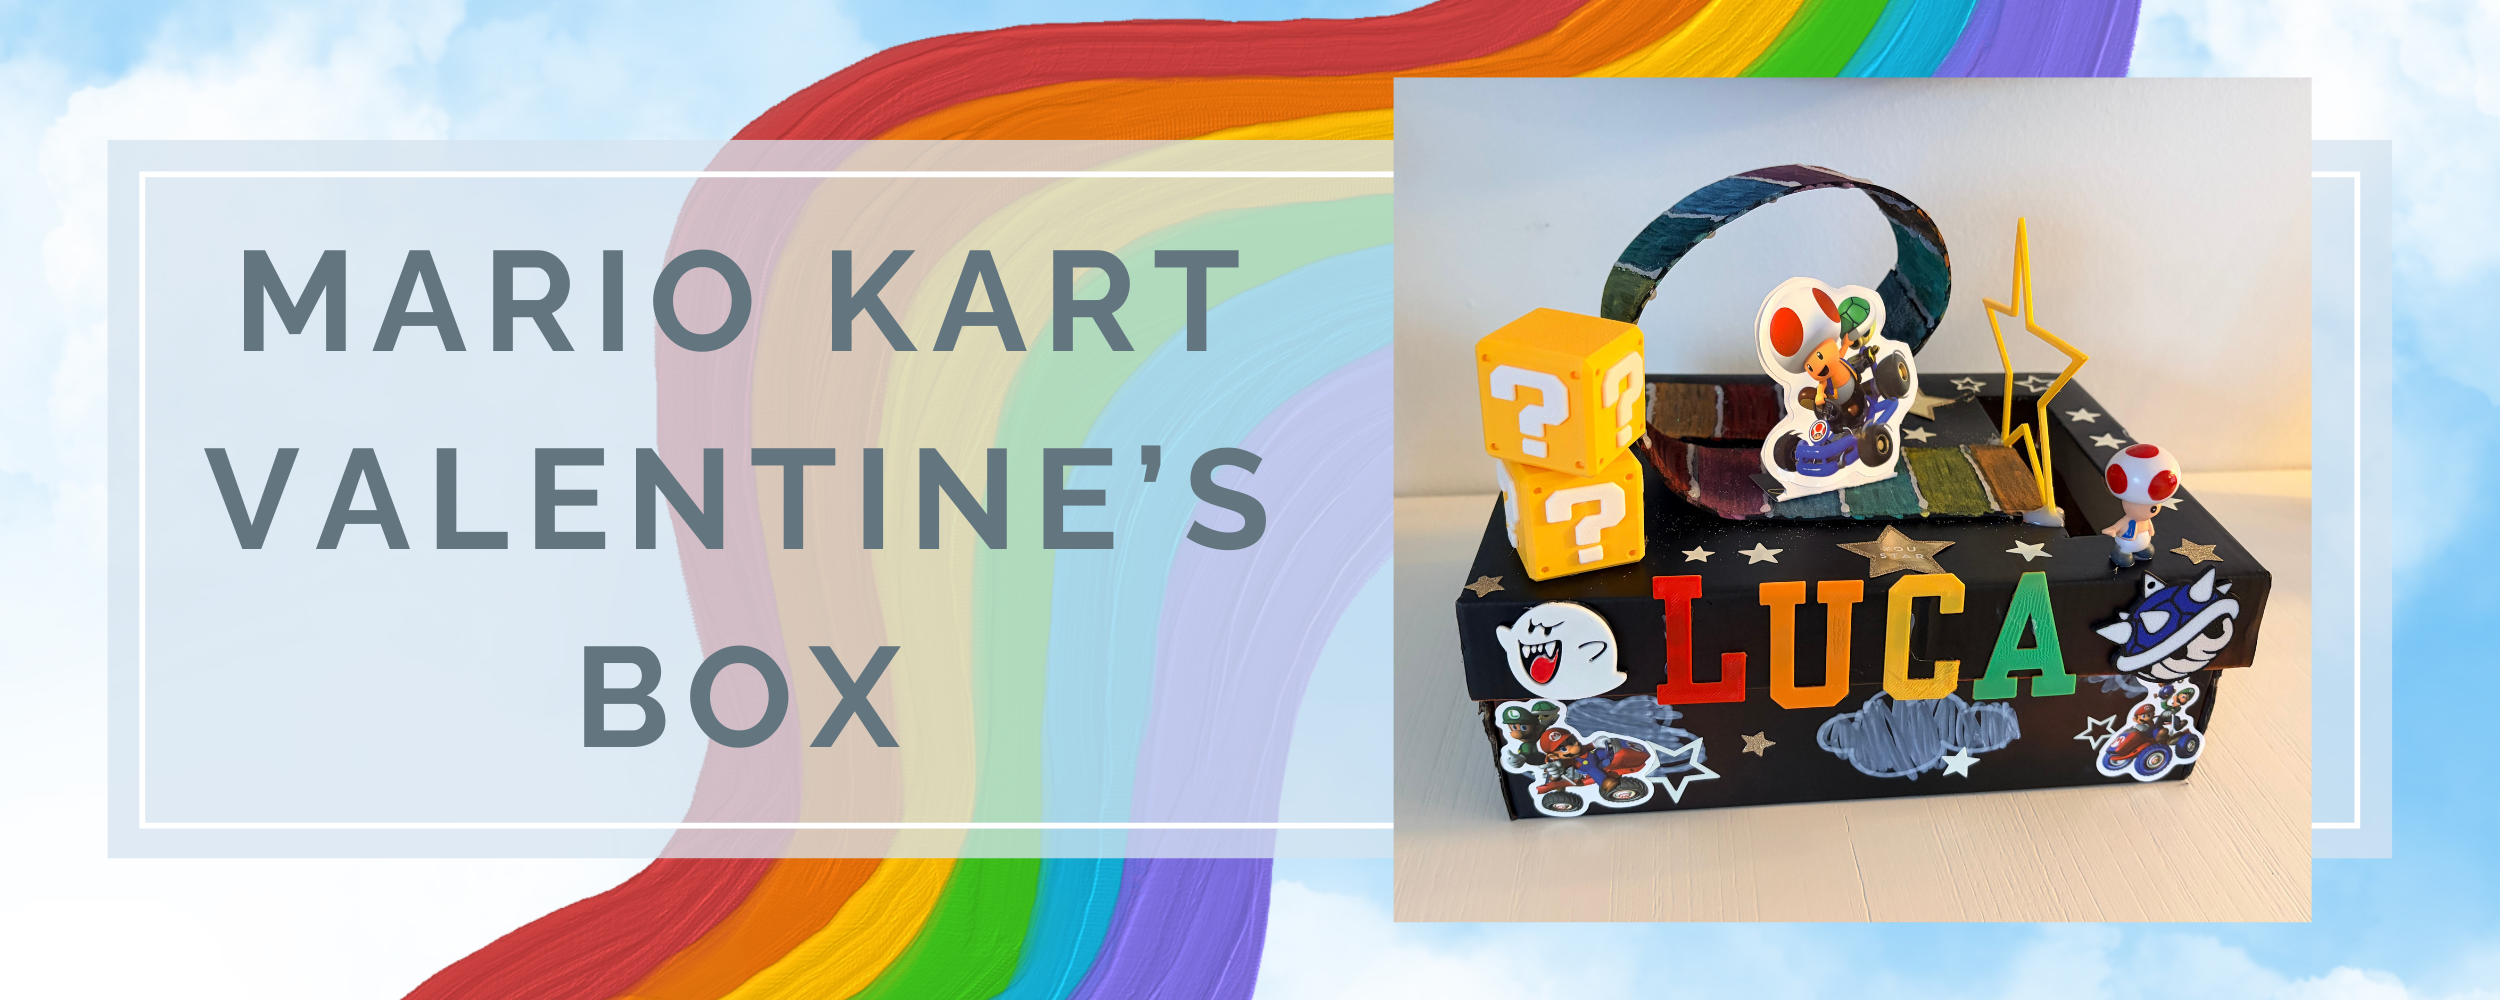
If your kid is obsessed with Mario Kart (like mine), you know a themed Valentine's Day box is going to be requested. My son specifically requested Rainbow Road, and honestly, I was pumped. Mario Kart is one of those nostalgic things I actually love too, so getting to bring Rainbow Road to life as a craft project? Yes, please.
The rainbow road design is eye-catching, fun to make together, and doesn't require any advanced crafting skills. Plus, it gave my son something he could actually help create instead of just watching me do all the work.
What You'll Need
The Basics:
Standard shoebox with lid
Foam paper in one color for the road
Paint pens (<-- these are amazing for kids) or Markers
Black spray paint (or black construction paper)
Craft knife for cutting the card slot
Optional Extras For Decorating:
3D printed elements
Time Needed
About two to three hours total. We spread it over an afternoon, doing the base and road first and then decorations next. Breaking it up kept everyone happy and made it feel more like fun than a chore.
How to Make It
Create the Base
We spray painted our box black to save time and got a smooth finish in minutes. If you want less mess, just cover it with black construction paper using glue or tape.
My son used paint pens to draw clouds and stars directly on the black surface after it dried, which looked great and gave him creative control.
Make the Rainbow Road
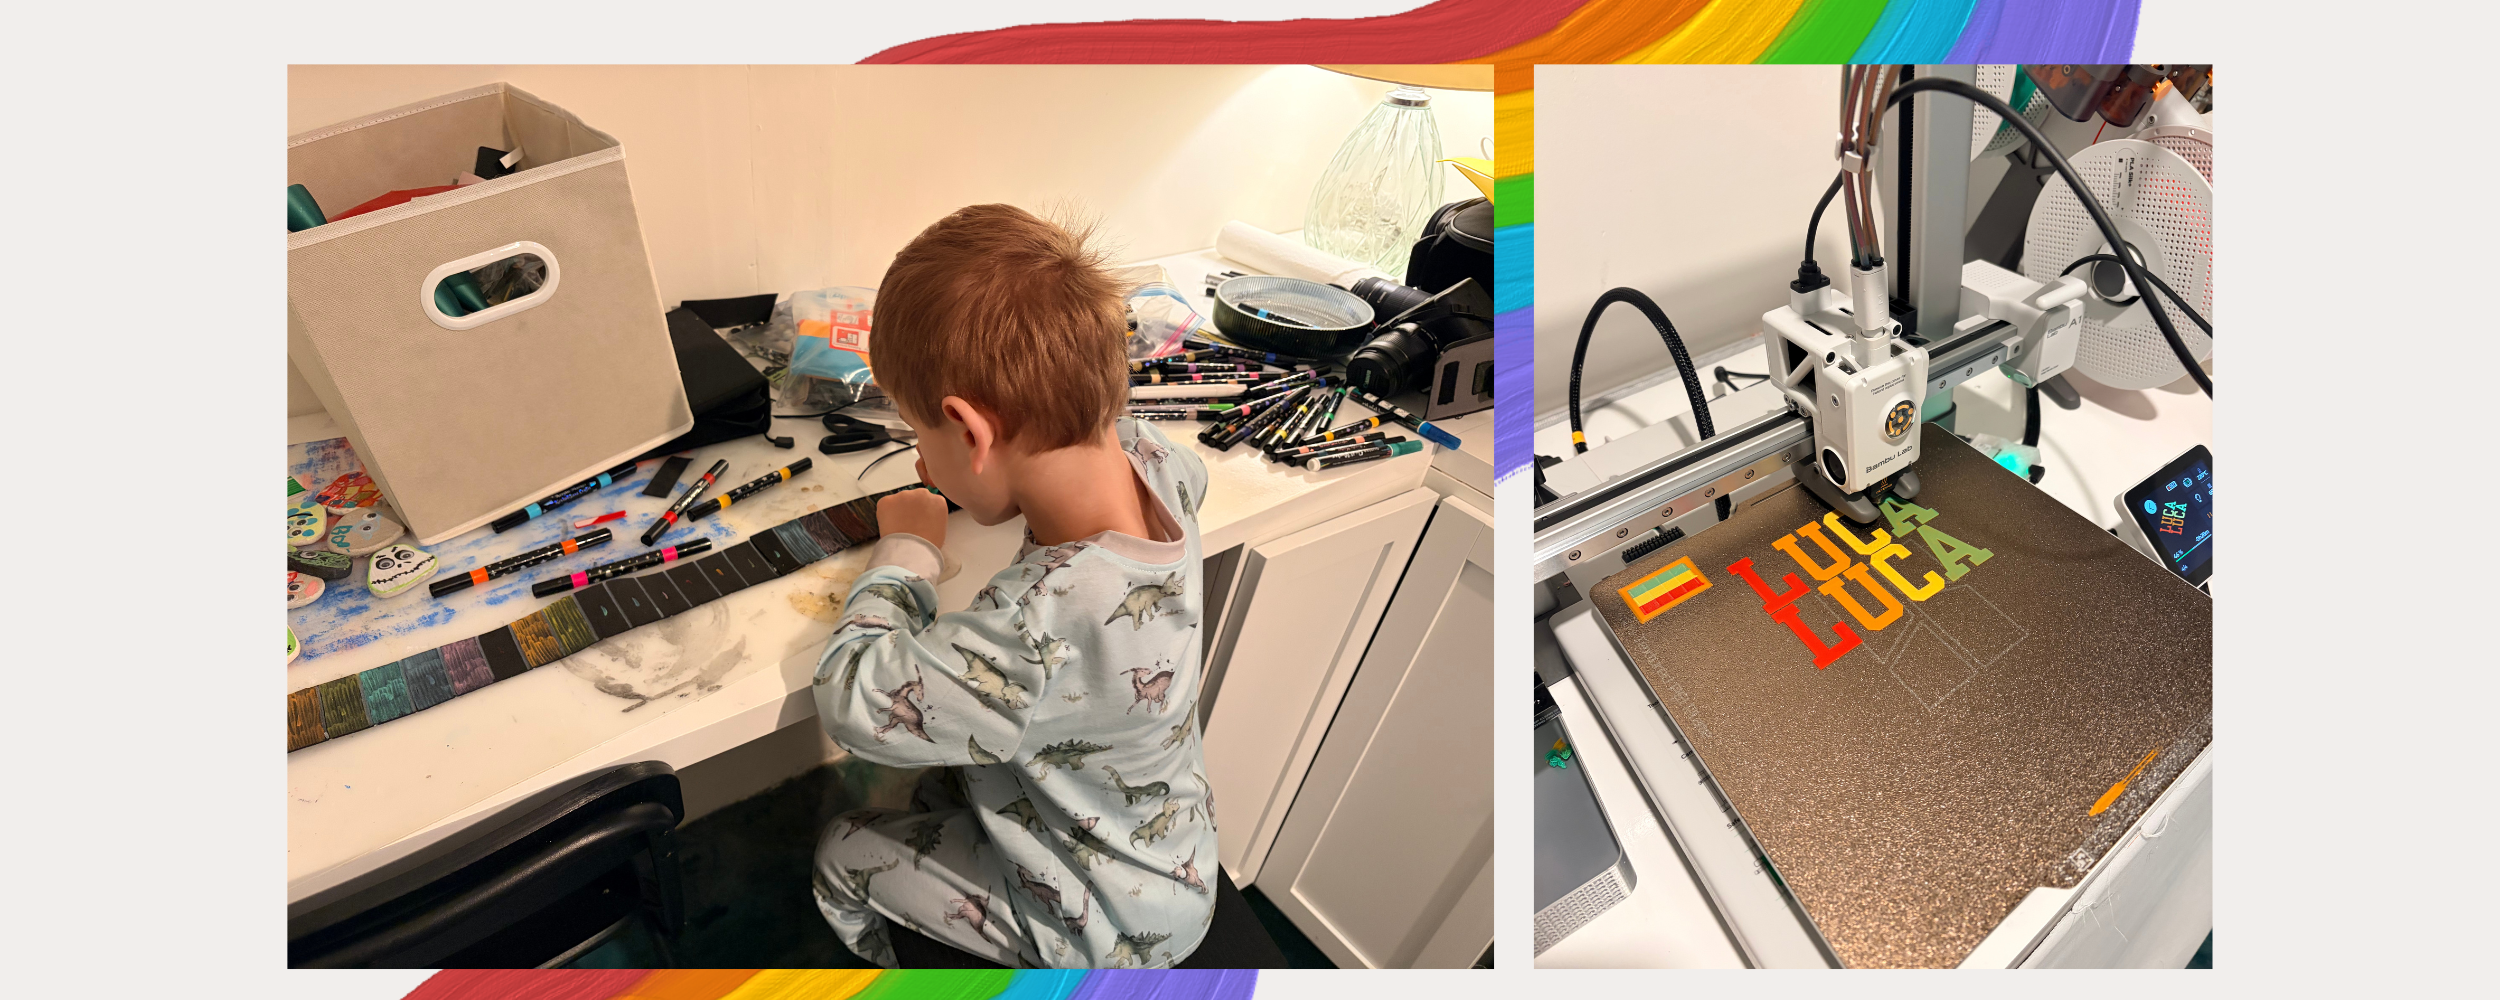
Cut a long strip of foam paper for your road. Make sure to make it long enough so you can create a loop and reach across the full length of the box. We used one color and then used paint pens (my absolute favorites for kids here) to color the rainbow on the foam paper.
To make it easy for him, I drew lines to section the strip into squares so he could color each section correctly. Then I marked each section with a dot of the correct color so he knew which color went in each section and he could work on that as long as he needed. No mess, no frustration, just a clean rainbow road he made himself.
Cut the Card Slot & Add the Road
Use a craft knife to cut a slot in the box lid at one end where Valentine cards go. Position it so the foam road can drive right into the opening. After the slot is cut, take your finished rainbow road and hot glue and position it so it has a loop and the road drives straight into the opening you just cut.
Add 3D Elements & Finishing Touches
We used our 3D printer for Mario Kart letters and item boxes, which added nice dimension. Don't have a 3D printer? Mario stickers or small toys from party favor packs work great. I let him place different stickers or Mario figures he already had all over the box.
The trick is varying heights and placements. Angle some pieces, overlap others. That's what makes it look elevated instead of just decorated.
Crafting Tips
Section the rainbow road with pencil before letting your child color it
Hot glue holds 3D elements, toys and foam pieces better than craft glue
Use multiple elements, heights and placements to add interest and dimension
Make the card slot bigger than you think you need for bulky Valentine cards
Let the imperfections show, that's what makes it special and handmade <3
Make sure to have fun and let them get creative!
The Verdict
This Mario Kart Rainbow Road box turned out better than I expected and gave us a fun afternoon project and something he was super proud to bring to school. It's doable on a regular weekend without requiring advanced skills or a huge budget.
If your child loves Mario Kart and you're facing Valentine's Day box assignment dread, this is your answer. Grab your supplies, clear an afternoon, and make something worth showing off!
This post contains affiliate links which means I may earn a small commission if you make a purchase through them at no extra cost to you. I only share products and experiences I truly recommend. As an Amazon Associate I earn from qualifying purchases.